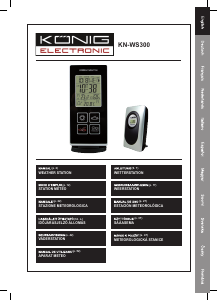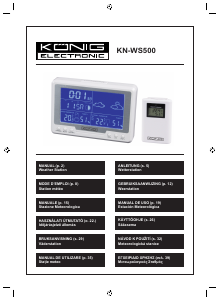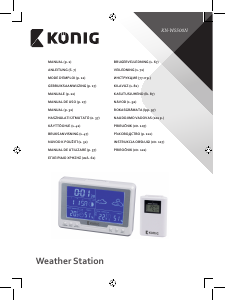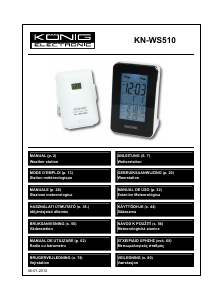
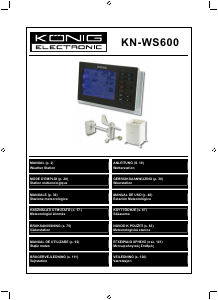
Käyttöohje König KN-WS600 Sääasema

Tarvitsetko käyttöoppaan König KN-WS600 Sääasema? Alta voit katsoa ja ladata suomenkielisen PDF-oppaan ilmaiseksi. Tällä tuotteella on tällä hetkellä 5 usein kysyttyä kysymystä, 1 kommentti ja sillä on 1 ääni ja tuotteen keskimääräinen arvio on 100/100. Jos tämä ei ole haluamasi käyttöopas, ota meihin yhteyttä.

Onko tuotteessa vika, eikä käyttöoppaasta ole apua? Siirry Repair Café ‑alueelle etsimään ilmaisia korjauspalveluita.

Käyttöohje

Loading…
4
will flash a few times right after battery installation. Make sure the vane is pointing due north at the
moment when the red LED flashes and the calibration is now completed. Replace the battery cover and
tighten the screws.
(4) If the wind vane is not pointing due north when the red LED first flashes, remove the batteries and
repeat steps 2 and 3.
(5) Hold the “CHANNEL/SEARCH” buttons on the monitor to search for a remote transmitter. Wind
direction, wind speed, wind chill and channel-1 temperature/humidity readings will appear within
10 minutes if the RF transmission is successful.
5. Selecting a location for the rain gauge
Select a mounting location for the rain gauge that is:
- A flat, level surface
- Within 50 meters (164 feet) of open area from the monitor. Reduce the distance if there are obstacles
between the rain gauge and the monitor
- In an area not blocked on the top or on the sides, so that rain can freely reach the rain gauge (for example,
not under an overhang or too close to a building or fence)
Caution:
- To prevent false rainfall readings caused by water splashes, do not choose a location that is not level or
that is too close to the ground, near a swimming pool or lawn sprinklers, or anywhere water might
accumulate or run off
- The screen in the cylinder of the rain gauge filters most debris (such as leaves) that might fall into the rain
gauge. To avoid frequent build-up of debris in the cylinder, do not mount the rain gauge too close to trees
or plants
6. Battery installation for the rain gauge
(1) Unscrew the 2 screws at each side of the transmitter. Carefully lift the top casing from the base.
(2) Unscrew the 4 screws from the battery compartment cover (identifiable by the battery diagram
markings). Remove the cover and insert 2 AA alkaline batteries as indicated by the polarity symbols
marked inside the battery compartment.
(3) The rain cup has been sealed to prevent tipping and damage during shipping. Before first use, please
remove the seal to allow the rain cup to fill and empty when rainfall occurs.
(4) Replace the battery compartment cover and the screws.
(5) Carefully replace the casing on top of the base. Replace the screws.
(6) Hold the “CHANNEL/SEARCH” button on the monitor for 3 seconds and the total rainfall “- - - -” will
flash. The monitor is now searching for all remote sensors. The total rainfall reading (in this case “0” mm
or inch) will appear within 2 minutes if the RF transmission is successful and the monitor and rain gauge
are now within the effective transmission range.
(7) If total rainfall “- - - -” stops flashing and stays on the display after 2 minutes of searching, the RF
transmission has failed. Shorten the distance between the monitor and rain gauge. Reset the rain
gauge by removing all batteries from the rain gauge and wait for 10 seconds before reinstalling the
batteries. Then repeat steps 5 (and 6) until the RF communication is completed.
7. Mounting the rain gauge
Before mounting the rain gauge, make sure the rain gauge and monitor are within the effective transmission
range and batteries are installed.
(1) Hold the base of the rain gauge flat against the mounting surface then use a level to make sure the rain
gauge (as it rests on the mounting surface) is horizontally level.
(2) Use a pencil to trace the inside of the mounting holes on the base of the rain gauge to mark the screw
locations.
(3) Drill a hole in the center of each marked location and insert the supplied plastic screw plugs.
(4) Hold the rain gauge against the mounting surface so that the holes on the base are aligned with the
plugs, then thread the supplied washer head screws into each hole and use a screwdriver to tighten
them.
8. Installing additional remote thermo-hygrometer sensor(s)
Additional remote thermo-hygrometer sensors can be purchased separately (not supplied with this package).
(1) Select a location for the remote thermo-hygrometer that is within the effective transmission range of
100 meters (328 feet). Shorten the distance if there are obstacles between the monitor and remote
sensor.
(2) Use a small screwdriver to loosen the screws on the battery door of the remote sensor. Insert 2 pieces
of AAA batteries according to the polarity indicated.
Lataa käyttöohje suomalainen (PDF, 1.62 MB)
(Mieti ympäristöä ja tulosta tämä käyttöopas vain, jos se on todella tarpeen)

Loading…

Arviointi

Kerro meille mielipiteesi König KN-WS600 Sääasema arvioimalla tuote. Haluatko jakaa tuotekokemuksesi tai kysyä kysymyksen? Jätä kommentti sivun alalaidassa.
Oletko tyytyväinen kohteeseen König KN-WS600 Sääasema?
Kyllä Ei
100%
0%
1 ääni

Keskustele tuotteesta

Täällä voit jakaa mielipiteesi König KN-WS600 Sääasema:sta. Jos sinulla on kysyttävää, lue ensin huolellisesti käyttöohje. Käsikirjaa voi pyytää yhteydenottolomakkeellamme.

lena hänström 31-01-2019
on ollut sääasema muutaman vuoden ajan. Nyt ulkolämpötila on yhtäkkiä kadonnut. Yrittänyt korjata käyttöohjeen avulla ja vaihtanut paristot sekä näytölle että tuulimittarille. Mikä voisi olla vialla. MVH Lena

vastaa | Tästä oli apual (1) (Googlen kääntämä)

Lisää tästä ohjekirjasta

Ymmärrämme, että on mukavaa, että sinulla on paperikäyttöinen käyttöopas laitteellesi König KN-WS600 Sääasema. Voit aina ladata oppaan verkkosivuiltamme ja tulostaa sen itse. Jos haluat alkuperäisen käyttöoppaan, suosittelemme ottamaan yhteyttä osoitteeseen Konig. He saattavat pystyä toimittamaan alkuperäisen ohjekirjan. Etsitkö laitteen König KN-WS600 Sääasema käyttöopasta toisella kielellä? Valitse haluamasi kieli kotisivuiltamme ja etsi mallinumero nähdäksesi, onko sitä saatavilla.

Tekniset tiedot

Tuotemerkki Konig
Malli KN-WS600
Kategoria Sääasemat
Tiedostotyyppi PDF
Tiedoston koko 1.62 MB

Kaikki käsikirjat kohteelle König Sääasemat
Lisää Sääasemat käsikirjoja

Usein kysytyt kysymykset kohteesta König KN-WS600 Sääasema

Tukitiimimme etsii hyödyllisiä tuotetietoja ja vastaa yleisiin kysymyksiin. Jos huomaat yleisissä kysymyksissä virheen, kerro siitä meille yhteydenottolomakkeella.

Sääasemani ennusti, että alkaisi sataa, mutta niin ei käynyt. Mistä se johtuu? Todennettu

Sääaseman ennustus perustuu ilmanpaineeseen. Yleensä matalapaine merkitsee huonoa säätä ja korkeapaine hyvää säätä. On mahdollista, että sääolot kehittyivät eri tavalla kuin ilmanpaine ennusti.

Tästä oli apual (1469) Lue lisää

Mikä on paras sääaseman ja sen antureiden sijainti? Todennettu

Itse sääasema on sijoitettu sisälle, ja se on pidettävä poissa lämmönlähteistä, kuten keittiöstä, ikkunoista tai sähkölaitteista. Erillinen ulkolämpötila-anturi on sijoitettava varjoon ja vähintään 1,25 m maanpinnan yläpuolelle. Sadetunnistin on sijoitettava avoimelle alueelle, jossa se voi aina kerätä sadetta. Tuulianturi on sijoitettava myös avoimelle alueelle, tuulen mahdollisten esteiden kanssa.

Tästä oli apual (395) Lue lisää

Sääasemallani on sademittari, voiko se mitata myös lumisateen määrän? Todennettu

Jotkut sademittarit on varustettu lämmityselementillä, joka saa lumen sulamaan ja mahdollistaa sen mittaamisen. Ilman lämmityselementtiä sademittari tukkeutuu eikä mittausta voida suorittaa.

Tästä oli apual (282) Lue lisää

Voinko jättää vaihdettavan akun laitteeseen pitkäksi aikaa? Todennettu

Vaihdettavat paristot voivat olla laitteessa pitkään, jos laitetta käytetään. Kun laitetta säilytetään pitkään, on suositeltavaa poistaa paristot hapettumisen estämiseksi.

Tästä oli apual (282) Lue lisää

Laitteeni akku on hapetettu, voinko silti käyttää sitä turvallisesti? Todennettu

Ja, laitetta voidaan silti käyttää turvallisesti. Poista ensin oxidizd-paristo. Älä koskaan käytä tätä paljain käsin. Puhdista sitten paristolokero etikkaan tai sitruunamehuun kastetulla vanupuikolla. Anna sen kuivua ja aseta uudet paristot.

Tästä oli apual (280) Lue lisää
Käyttöohje König KN-WS600 Sääasema

Liittyvät tuotteet

Aiheeseen liittyvät luokat

×
Download